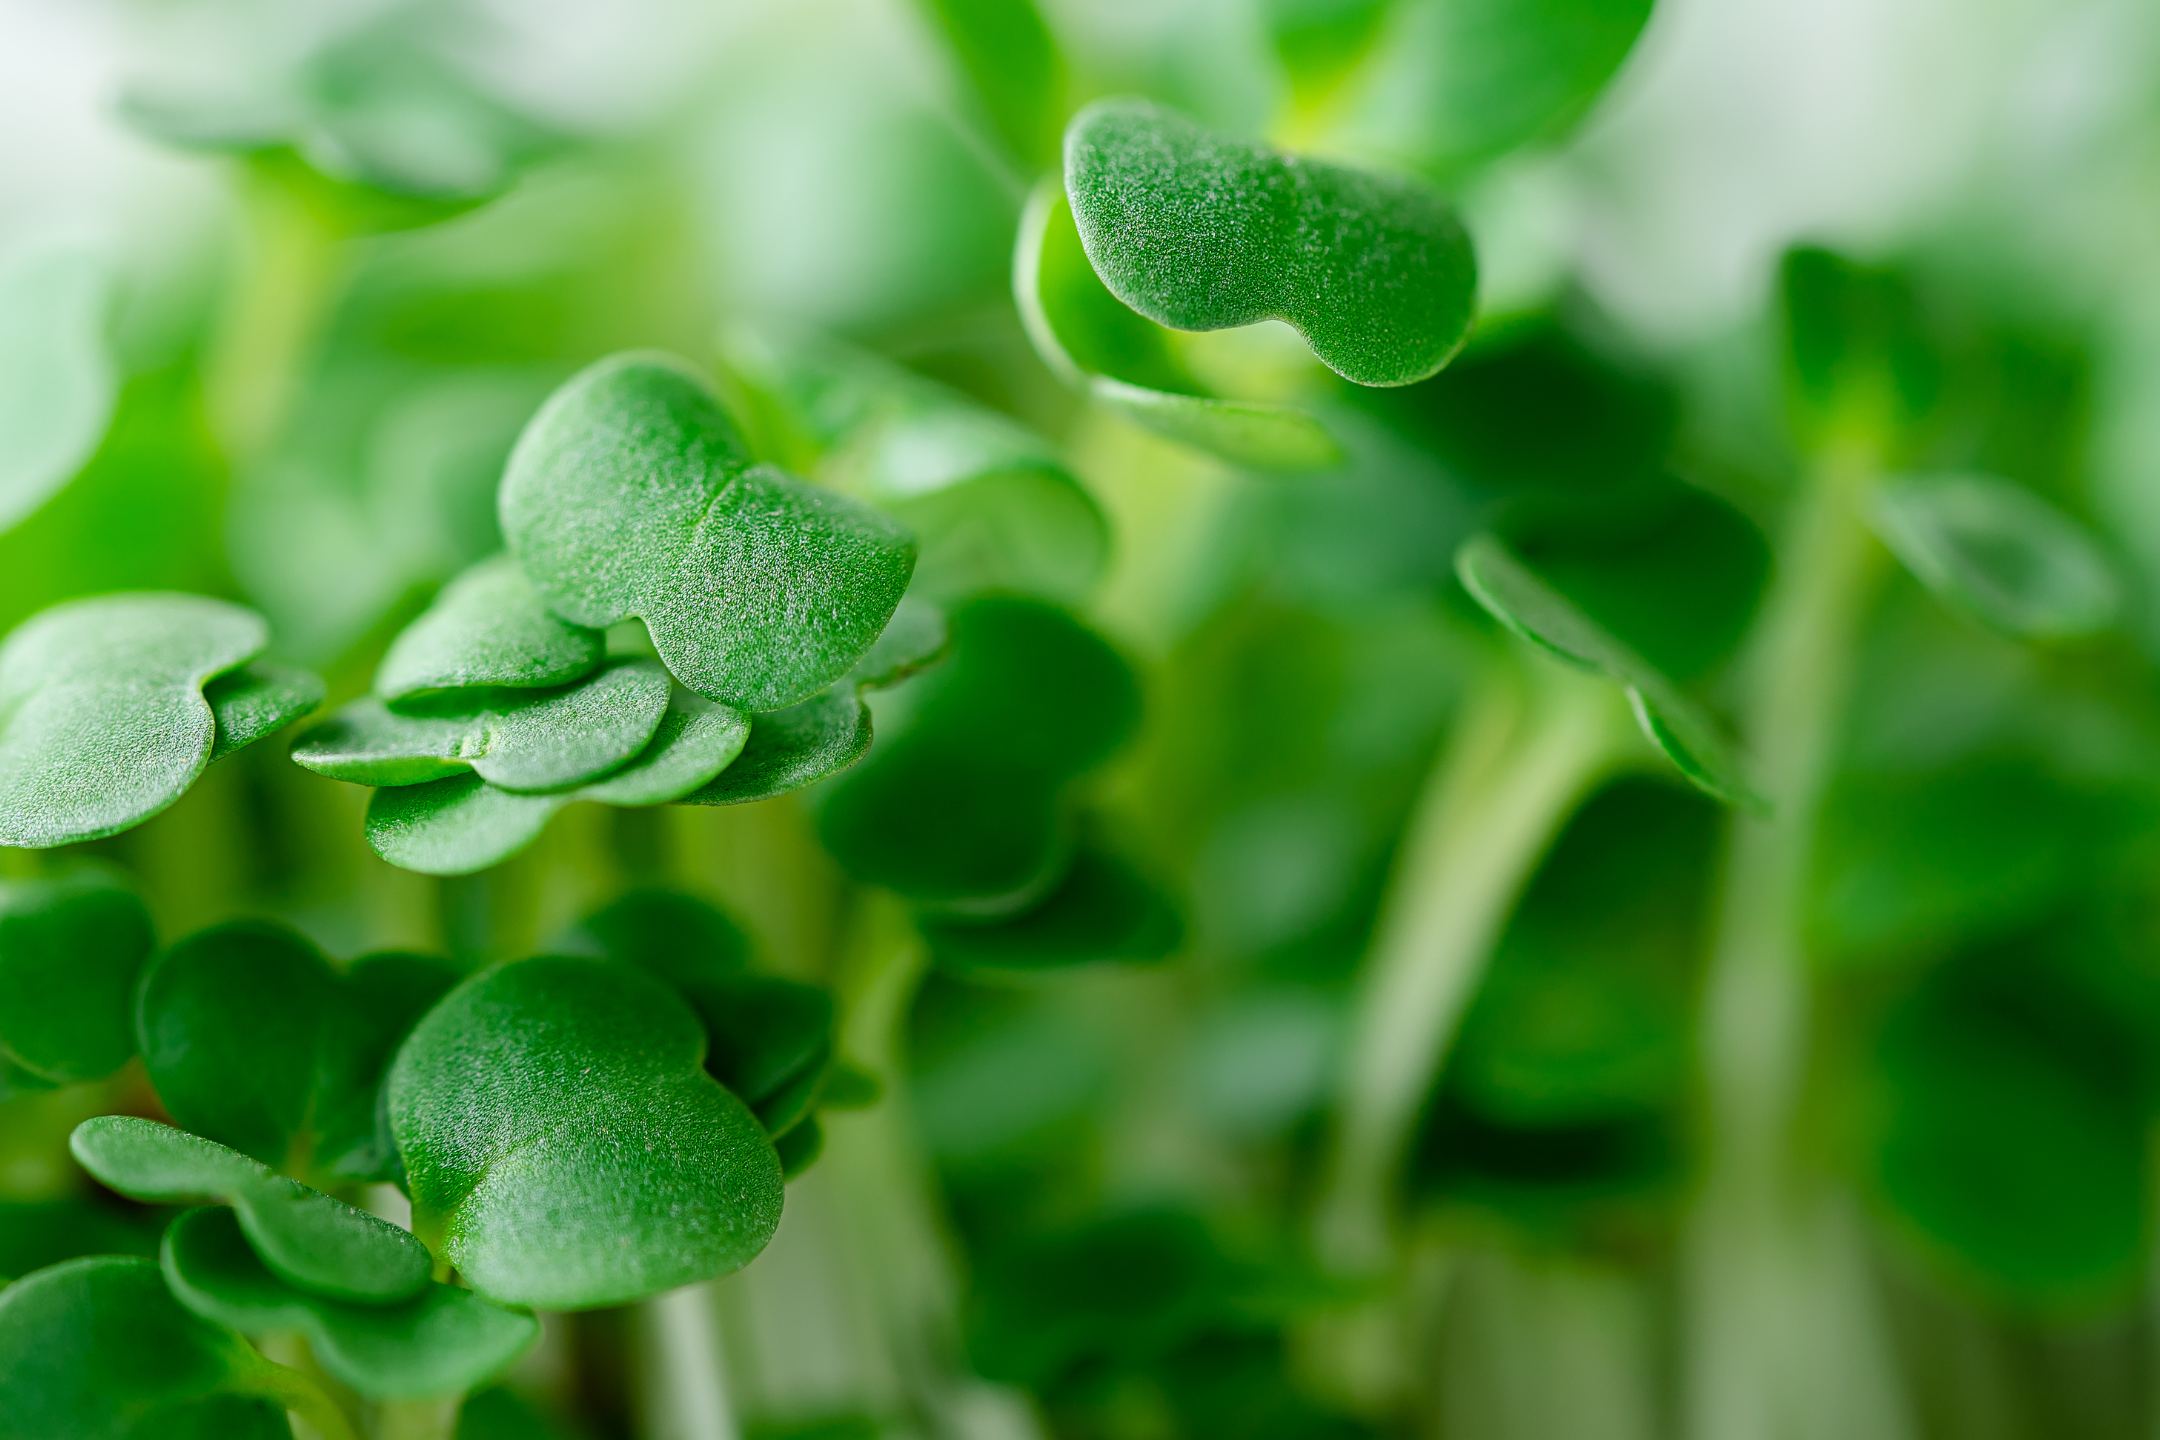
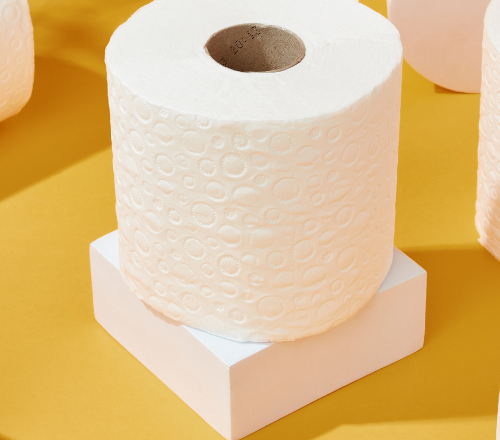
STOP! Before you recycle that empty kitchen roll tube, put it to one side and join us as we explain how to grow cress on a kitchen roll.
Yes, you read correctly.
Why throw the tube away when you can instead use it to get a taste for the wonderful hobby that’s gardening? A taste for what it’s like to grow something all by yourself? A taste for (quite literally) delicious, fresh cress?
That kitchen roll tube is so much more than just a kitchen roll tube. It’s your key to tasty cress that will help you finesse any homemade salad, soup, canapé, or omelette.
Oh yes, in-cress-ive indeed.
What you’ll need
Before you get started, you’ll need the following materials and tools:
• Kitchen roll tubes
• Kitchen towel
• Scissors
• Cress seeds
• Cling film
• Sunlight
• Watering can
It couldn’t be easier to start growing your own cress. By the end of this project, you’ll have your very own leafy greens packed with a powerful nutritious punch. And yes, an empty kitchen roll tube will have got the ball rolling!
Step one: Prepare the kitchen roll tubes
Take your scissors and cut each kitchen roll tube lengthwise. This will create the two collars that will need to go around the base of the cress.
Step two: Add damp kitchen paper towels
Next, wet the kitchen paper towels (be thorough, but don’t soak them) and fill the eco kitchen rolls with the sheets.
Step three: Sprinkle the seeds
Take your cress seeds and sprinkle them evenly over the damp 3-ply kitchen towel.
The number of cress seeds necessary for one kitchen roll tube will depend on the size of the tube, as well as how thick you want your cress to grow. A good rule of thumb is to use roughly one teaspoon of cress seeds per tube.
Cover with cling film
Next, cover your tubes with cling film, but be sure to poke a few holes to give the seeds room to breathe.
While this part is optional, it’s generally recommended you don’t skip this step. Covering your tubes with cling film helps keep the seeds moist, creates a humid environment, and protects the cress from any potential diseases or pests.
We want the very best outcome for our cress, right? It’s better to be safe than sorry!
Place the tubes in a sunny spot
It should come as no surprise that your cress will need ample sunlight for the best possible chance at growth.
Find a sunny spot and let your cress bask in the glorious light and energy. Just remember to check in on them regularly and water them daily.
Harvest and enjoy
In just three to five days, your crest should be ready to harvest and enjoy.
When it reaches two inches tall, all you need to do is snip off the cress and think about all the lovely ways in which you’ll use it.
Perhaps you’ll make a bean, tomato, and watercress salad, or maybe you’ll add it to your favourite sandwich fillers?
Benefits of growing your own cress
Why grow your own cress when you can easily buy some from the supermarket?
Because it’s fun and rewarding! This is why many people choose to grow their own everything if it’s possible to do so.
The benefits of growing your own cress on a kitchen roll include:
It’s simple to do
Cress is one of the easiest herbs to grow, even for beginners. If you’ve never had the pleasure of growing your own leafy greens or veg, this is a great place to start.
Plus, no gardening experience = no problem. You can grow it indoors on a windowsill, so you don’t need knowledge of gardening or even a garden itself.
It’s a speedy process
If you don’t have a lot of patience, cress is a fantastic herb to grow because it can be harvested in as little as seven to 10 days. In no time, you’ll be able to enjoy fresh, homegrown cress.
It’s packed with nutrients
As a good source of vitamins C, K, and A, as well as folate, calcium, and iron, you can have confidence that your homegrown cress will make you feel good.
It’s fun to grow
As we said, growing your own cress is fun! Keep it as your own enjoyable pastime, or get the whole family involved in (what can be) such an educational activity.
Discover our environmentally friendly, quality eco kitchen roll today.


